Fitted the RH flap hinge, W12-02. The dwg calls for the hinge to protrude 5/64" from the trailing edge of the spar. I tapped a 5/64"drill bit to some flat stock. I placed the flat stock touching two of the hinge loops and then mover the hinge in until the drill touched the trailing edge. Clamped the hinge at that point and drilled the pilot holes using the holes in the spar as a drill guide. Checked the fit of the flap in the clecoed hinge and it moves freely, the pin going in very easily.
Cut the flap and aileron hinge pins per W01-02/03. I was wondering how the pin was retained and thought it would be difficult to drill through the hinge and pin for the cotter pin. I found the hinge pin is shorter than the maximium hinge length. The cotter pin holes are located 3/16" in from the ends of the longest hinge (W01 view D-D). With the cotter pins installed at each end, they capture the recessed hinge pin. No need to worry about the hinge pin lining up with any cotter pin holes. Hopefully there will be some room to use a drift to start the hinge pin out if the flap or aileron need to be removed.
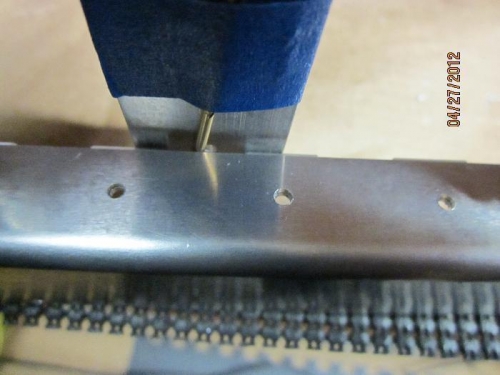
Drilled missing pilot holes in aft spar for #3 rib.
Smoothed edges of LH #5 rib W23-03L and doubler W23-07L. Updrilled pilot holes on rib/doubler/rear inbd attach angle W17-07L and rear spar attach angle W15-06L. Installed holes for 3-contact electrical conn. and deburred all components.